Prerequisites
Before you begin, make sure you have:- A Pooler account (sign up at usepooler.com)
- Access to your email for account verification
- Basic understanding of REST APIs
New to Pooler? Check out our Introduction guide for an overview of our platform.
Step 1: Access Your Dashboard
The Pooler dashboard is your central hub for managing your account, viewing transactions, and configuring settings.Accessing the Dashboard
- Navigate to app.usepooler.com or click “Dashboard” from the main website
- Log in with your Pooler account credentials
- If you don’t have an account, click “Sign Up” to create one
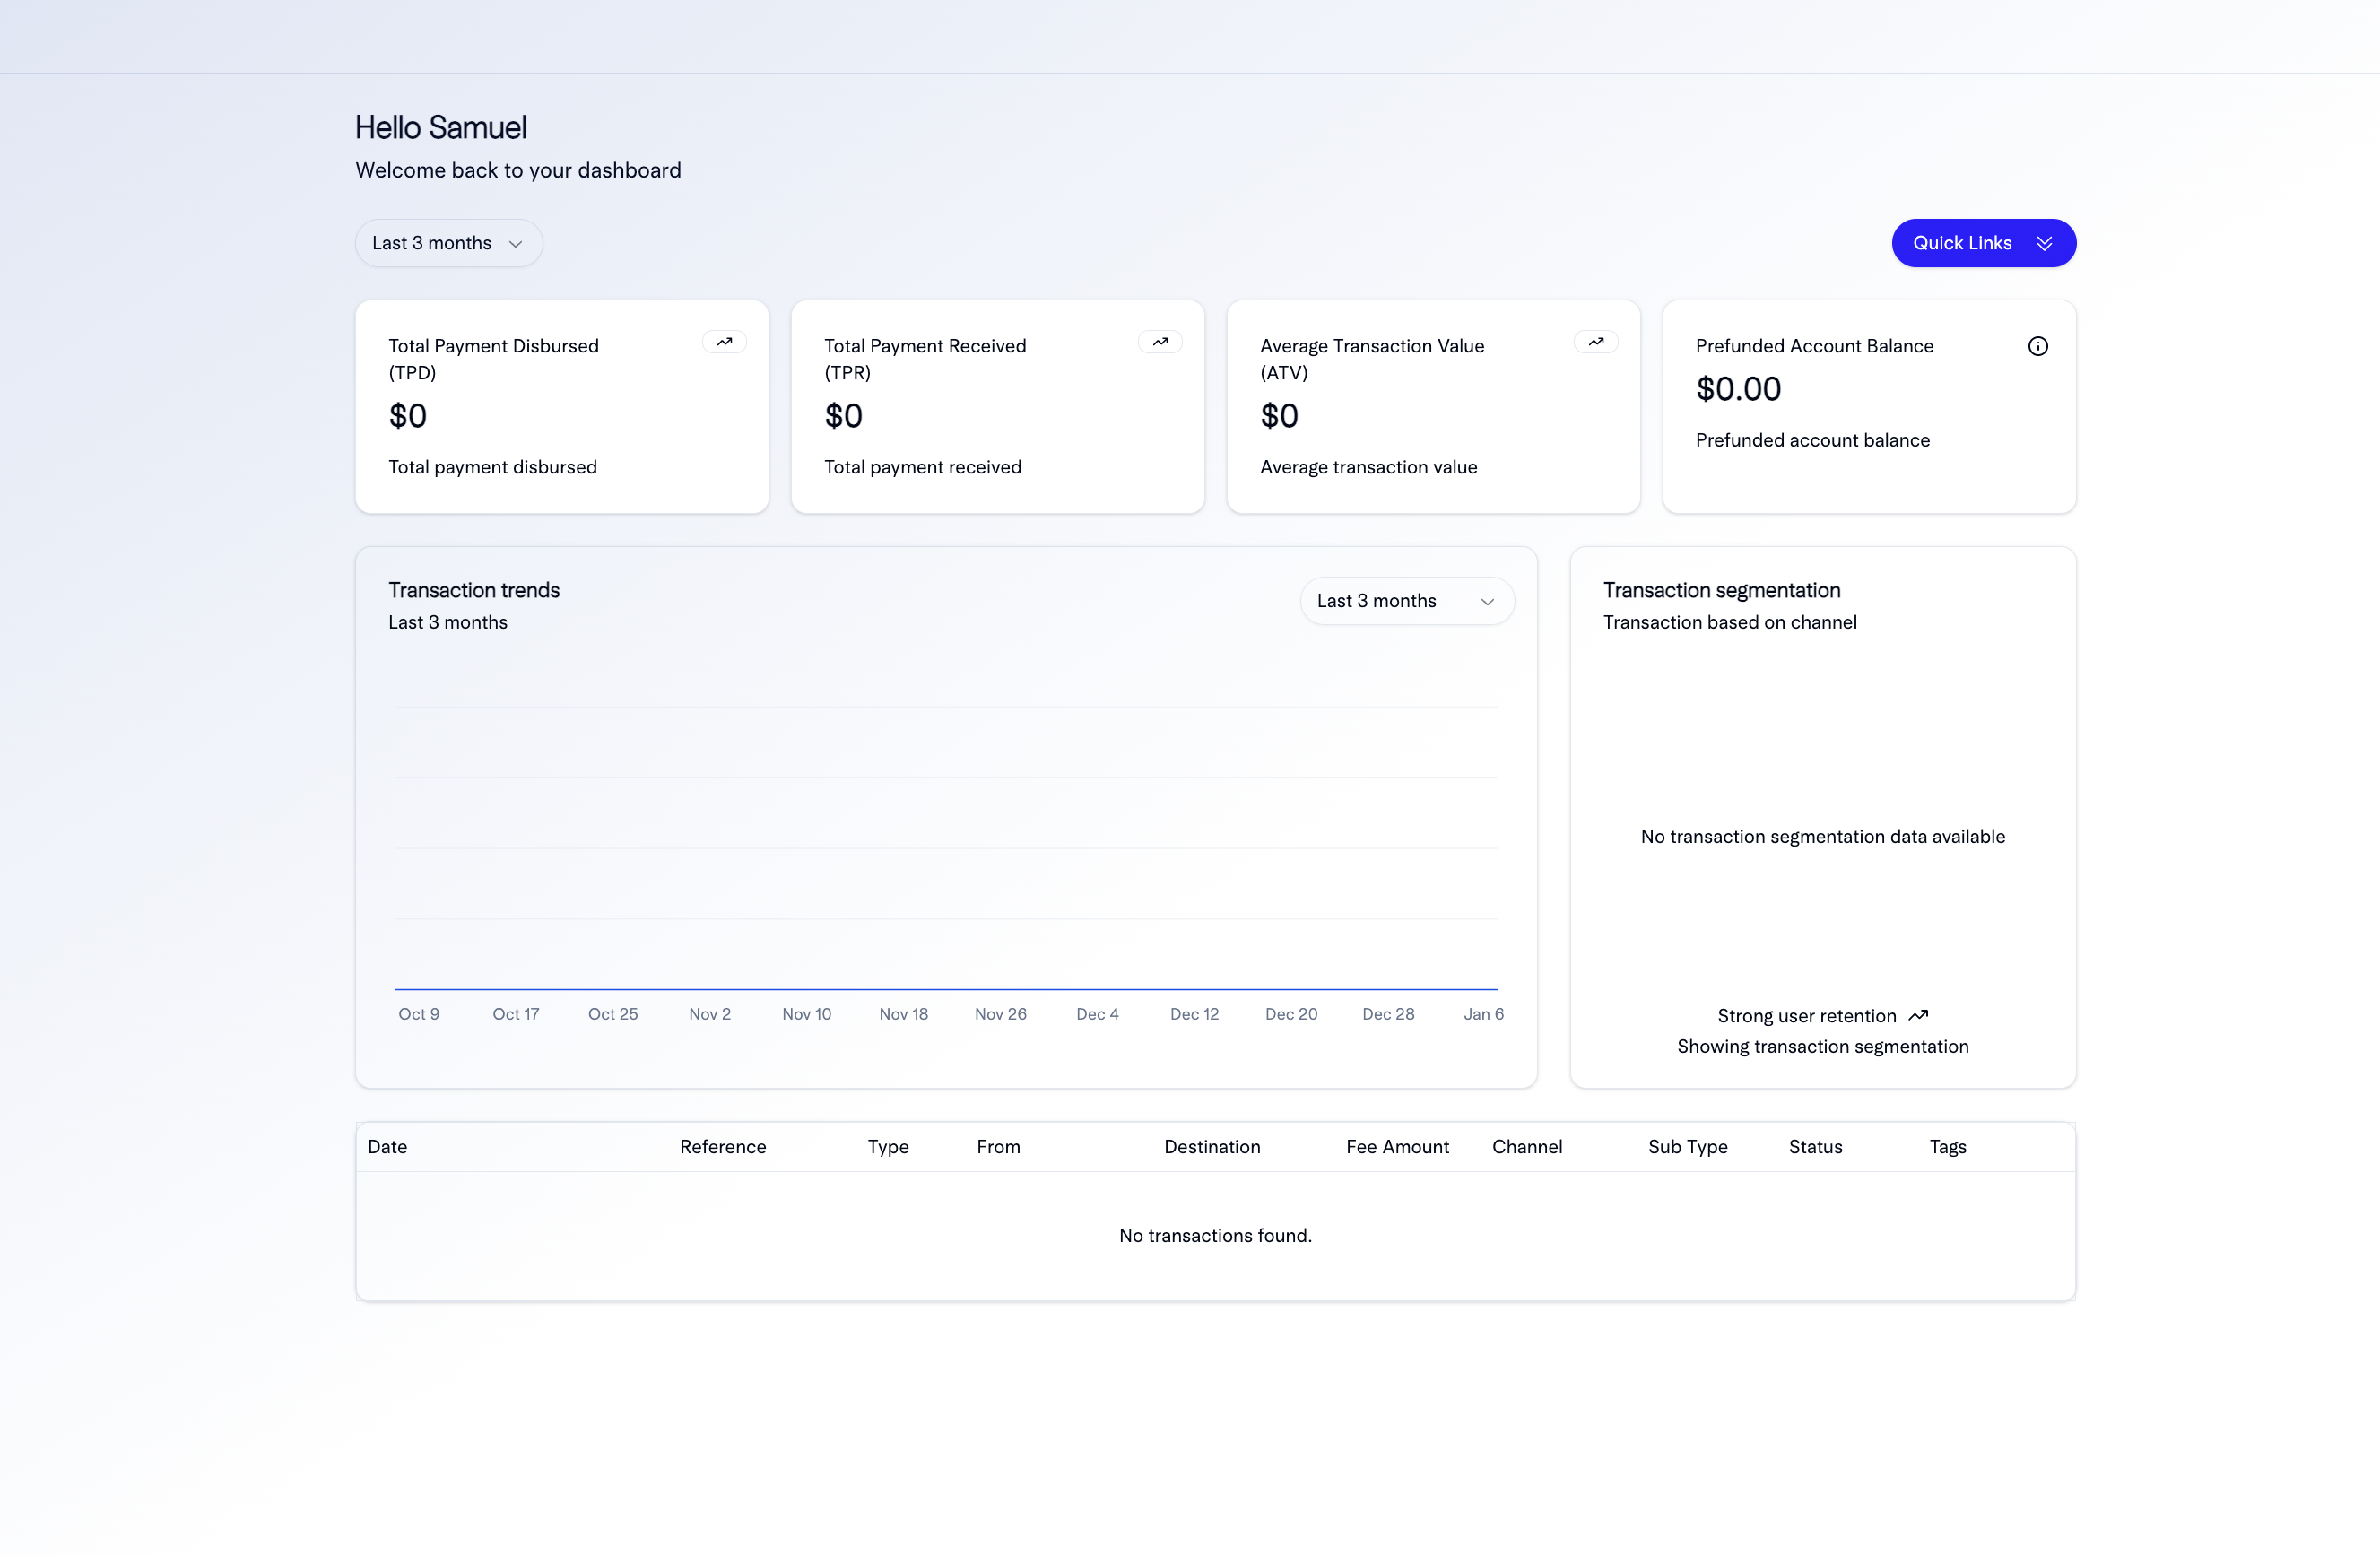
Dashboard Overview
Once logged in, you’ll see:- Overview Dashboard - Key metrics, recent transactions, and account balance
- Transactions - View and filter all payment transactions
- Virtual Accounts - Manage your virtual accounts
- Recipients - Manage payment recipients
- Settings - Configure account settings, API keys, and webhooks
- Analytics - View reports and analytics
Step 2: Access the Developers Page
The Developers page is where you’ll find your API keys, test credentials, and API documentation.Finding the Developers Page
- From your dashboard, click on Settings in the left sidebar
- Navigate to Developers or API Keys section
- Alternatively, you can access it directly at app.usepooler.com/developers
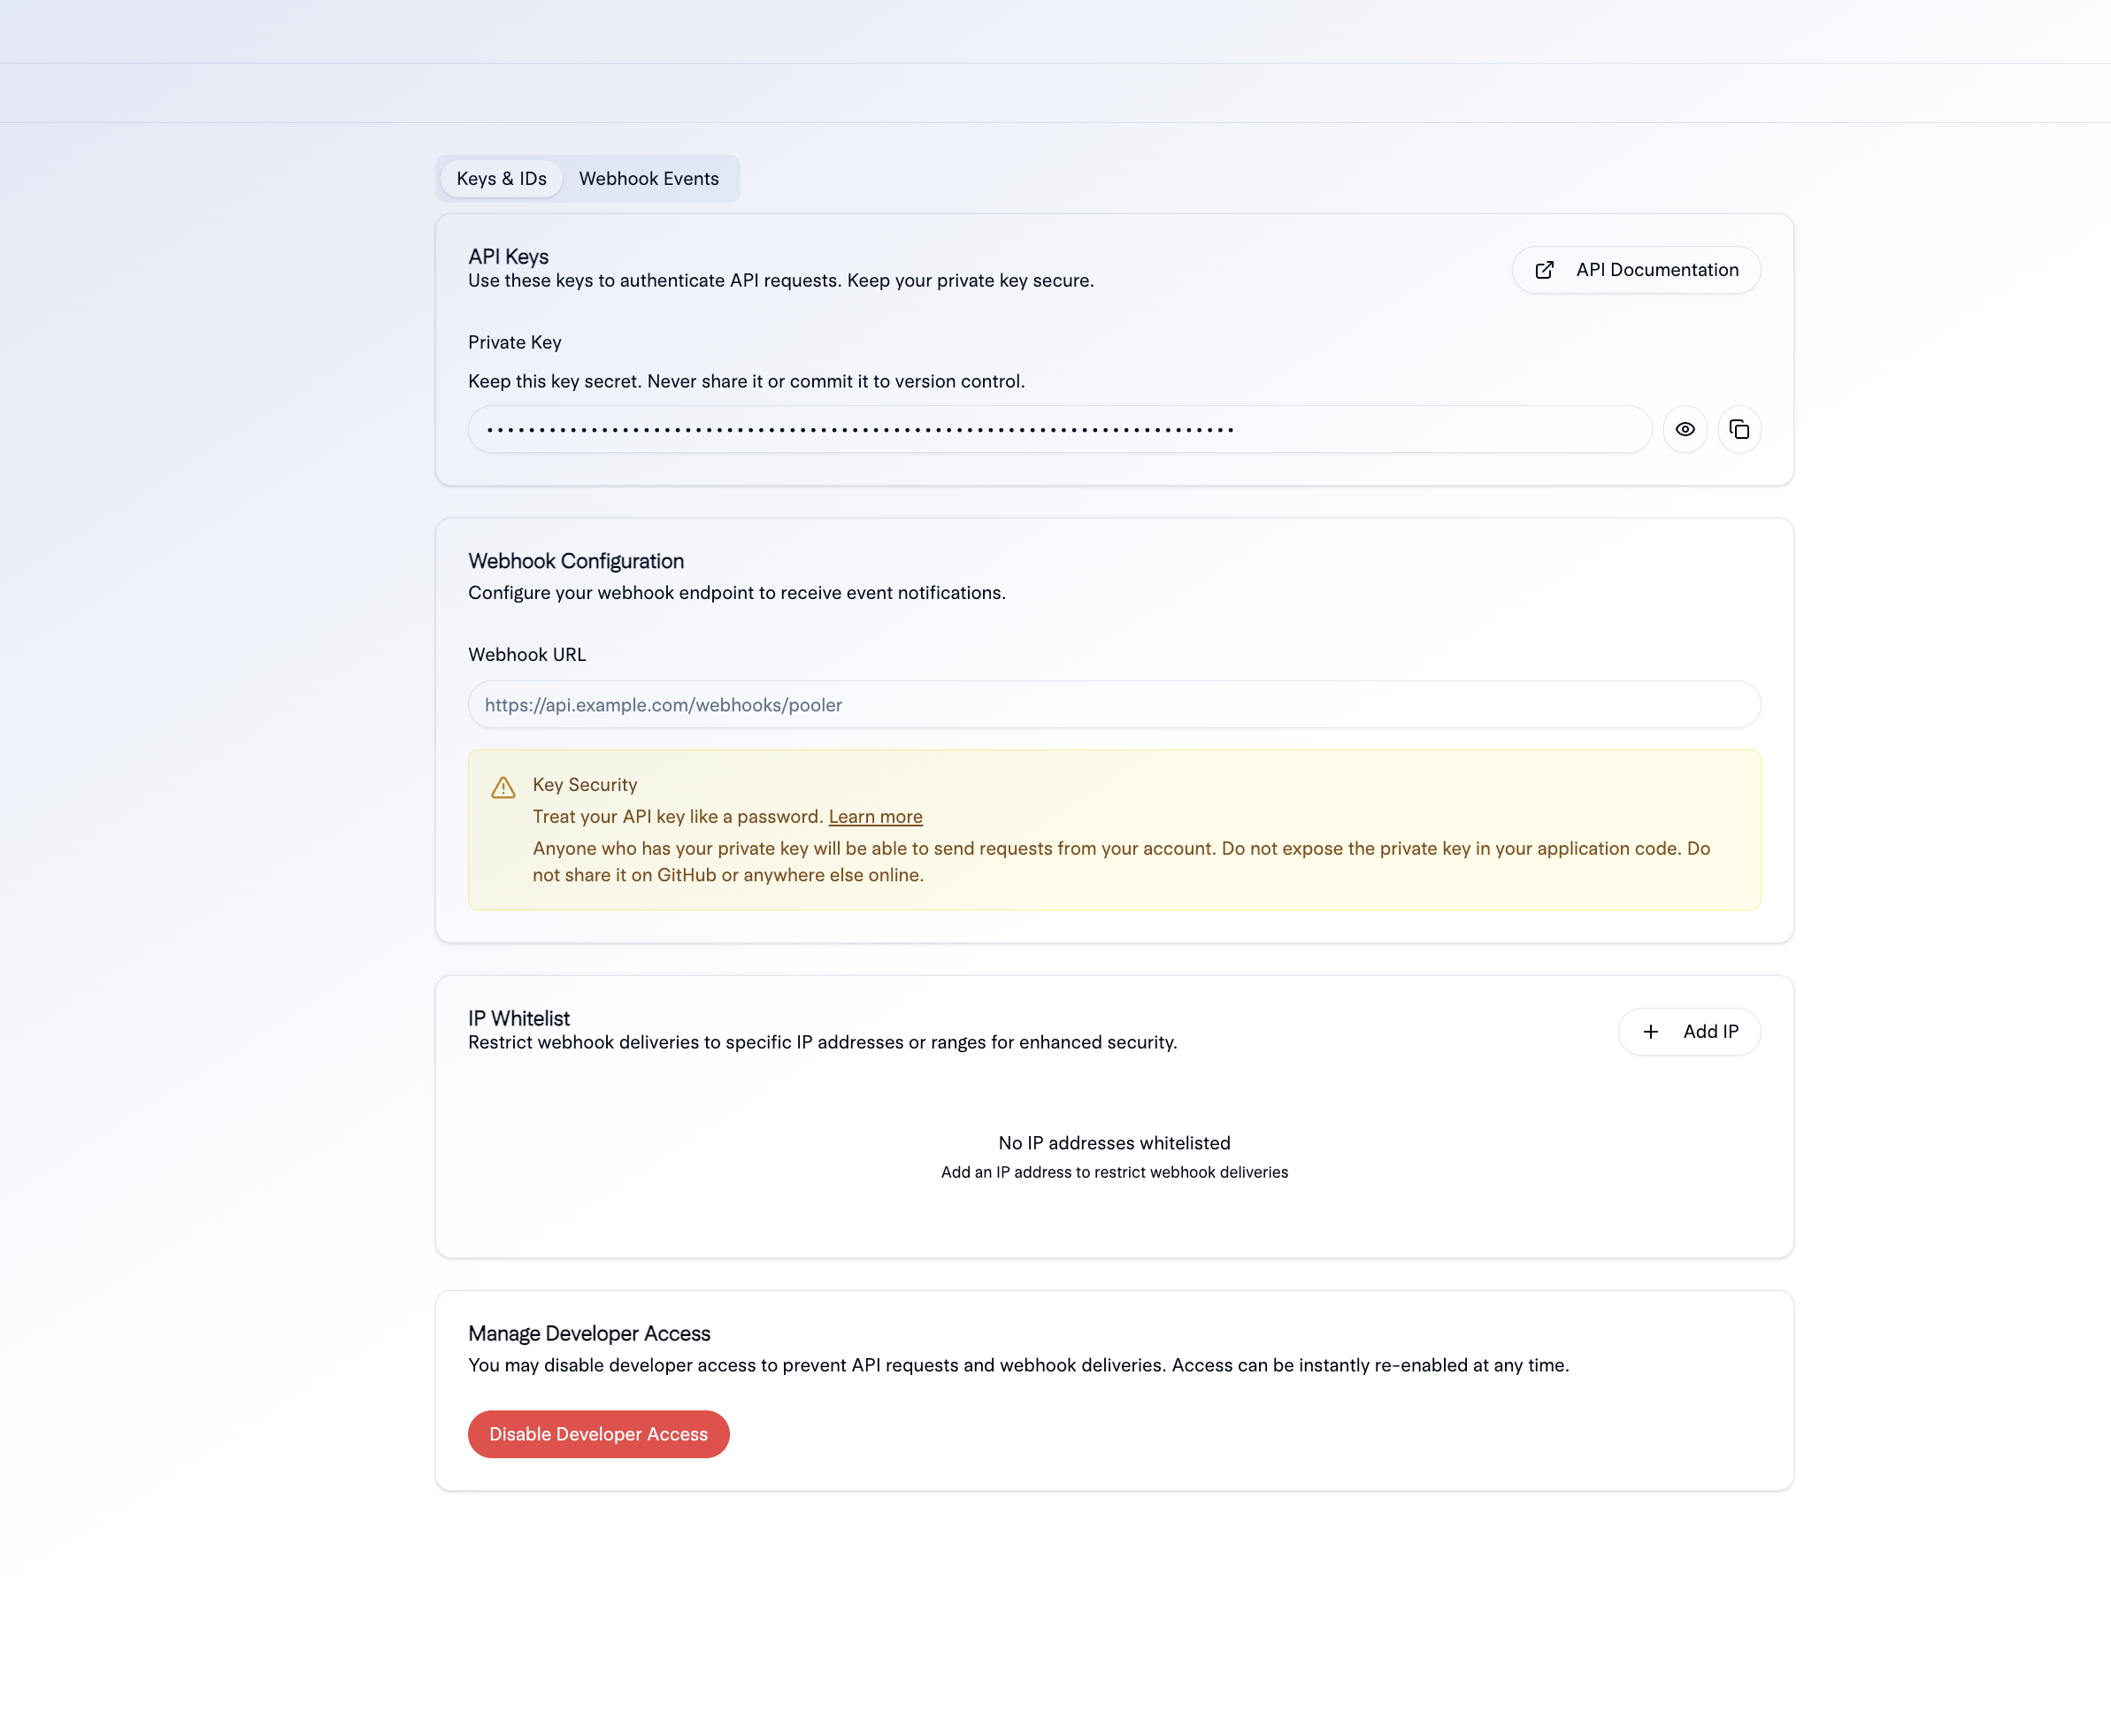
What You’ll Find on the Developers Page
- API Keys - Your live and test API keys
- Webhook Configuration - Manage webhook endpoints
- Test Credentials - Demo accounts and test data
- API Version - Current API version information
Getting Your API Keys
- On the Developers page, locate the API Keys section
- You’ll see two keys:
- Test Key - For testing in sandbox mode (starts with
test_) - Live Key - For production use (starts with
live_)
- Test Key - For testing in sandbox mode (starts with
- Click Show or Reveal to view your API key
- Click Copy to copy the key to your clipboard
Test keys are safe to use in development and testing environments. Live keys should only be used in production applications.
Webhook Security
Pooler signs all webhook requests with a secret key. Verify the signature to ensure requests are authentic:- Get your webhook secret from the Developers page
- Verify the signature in your webhook handler
- Reject requests with invalid signatures
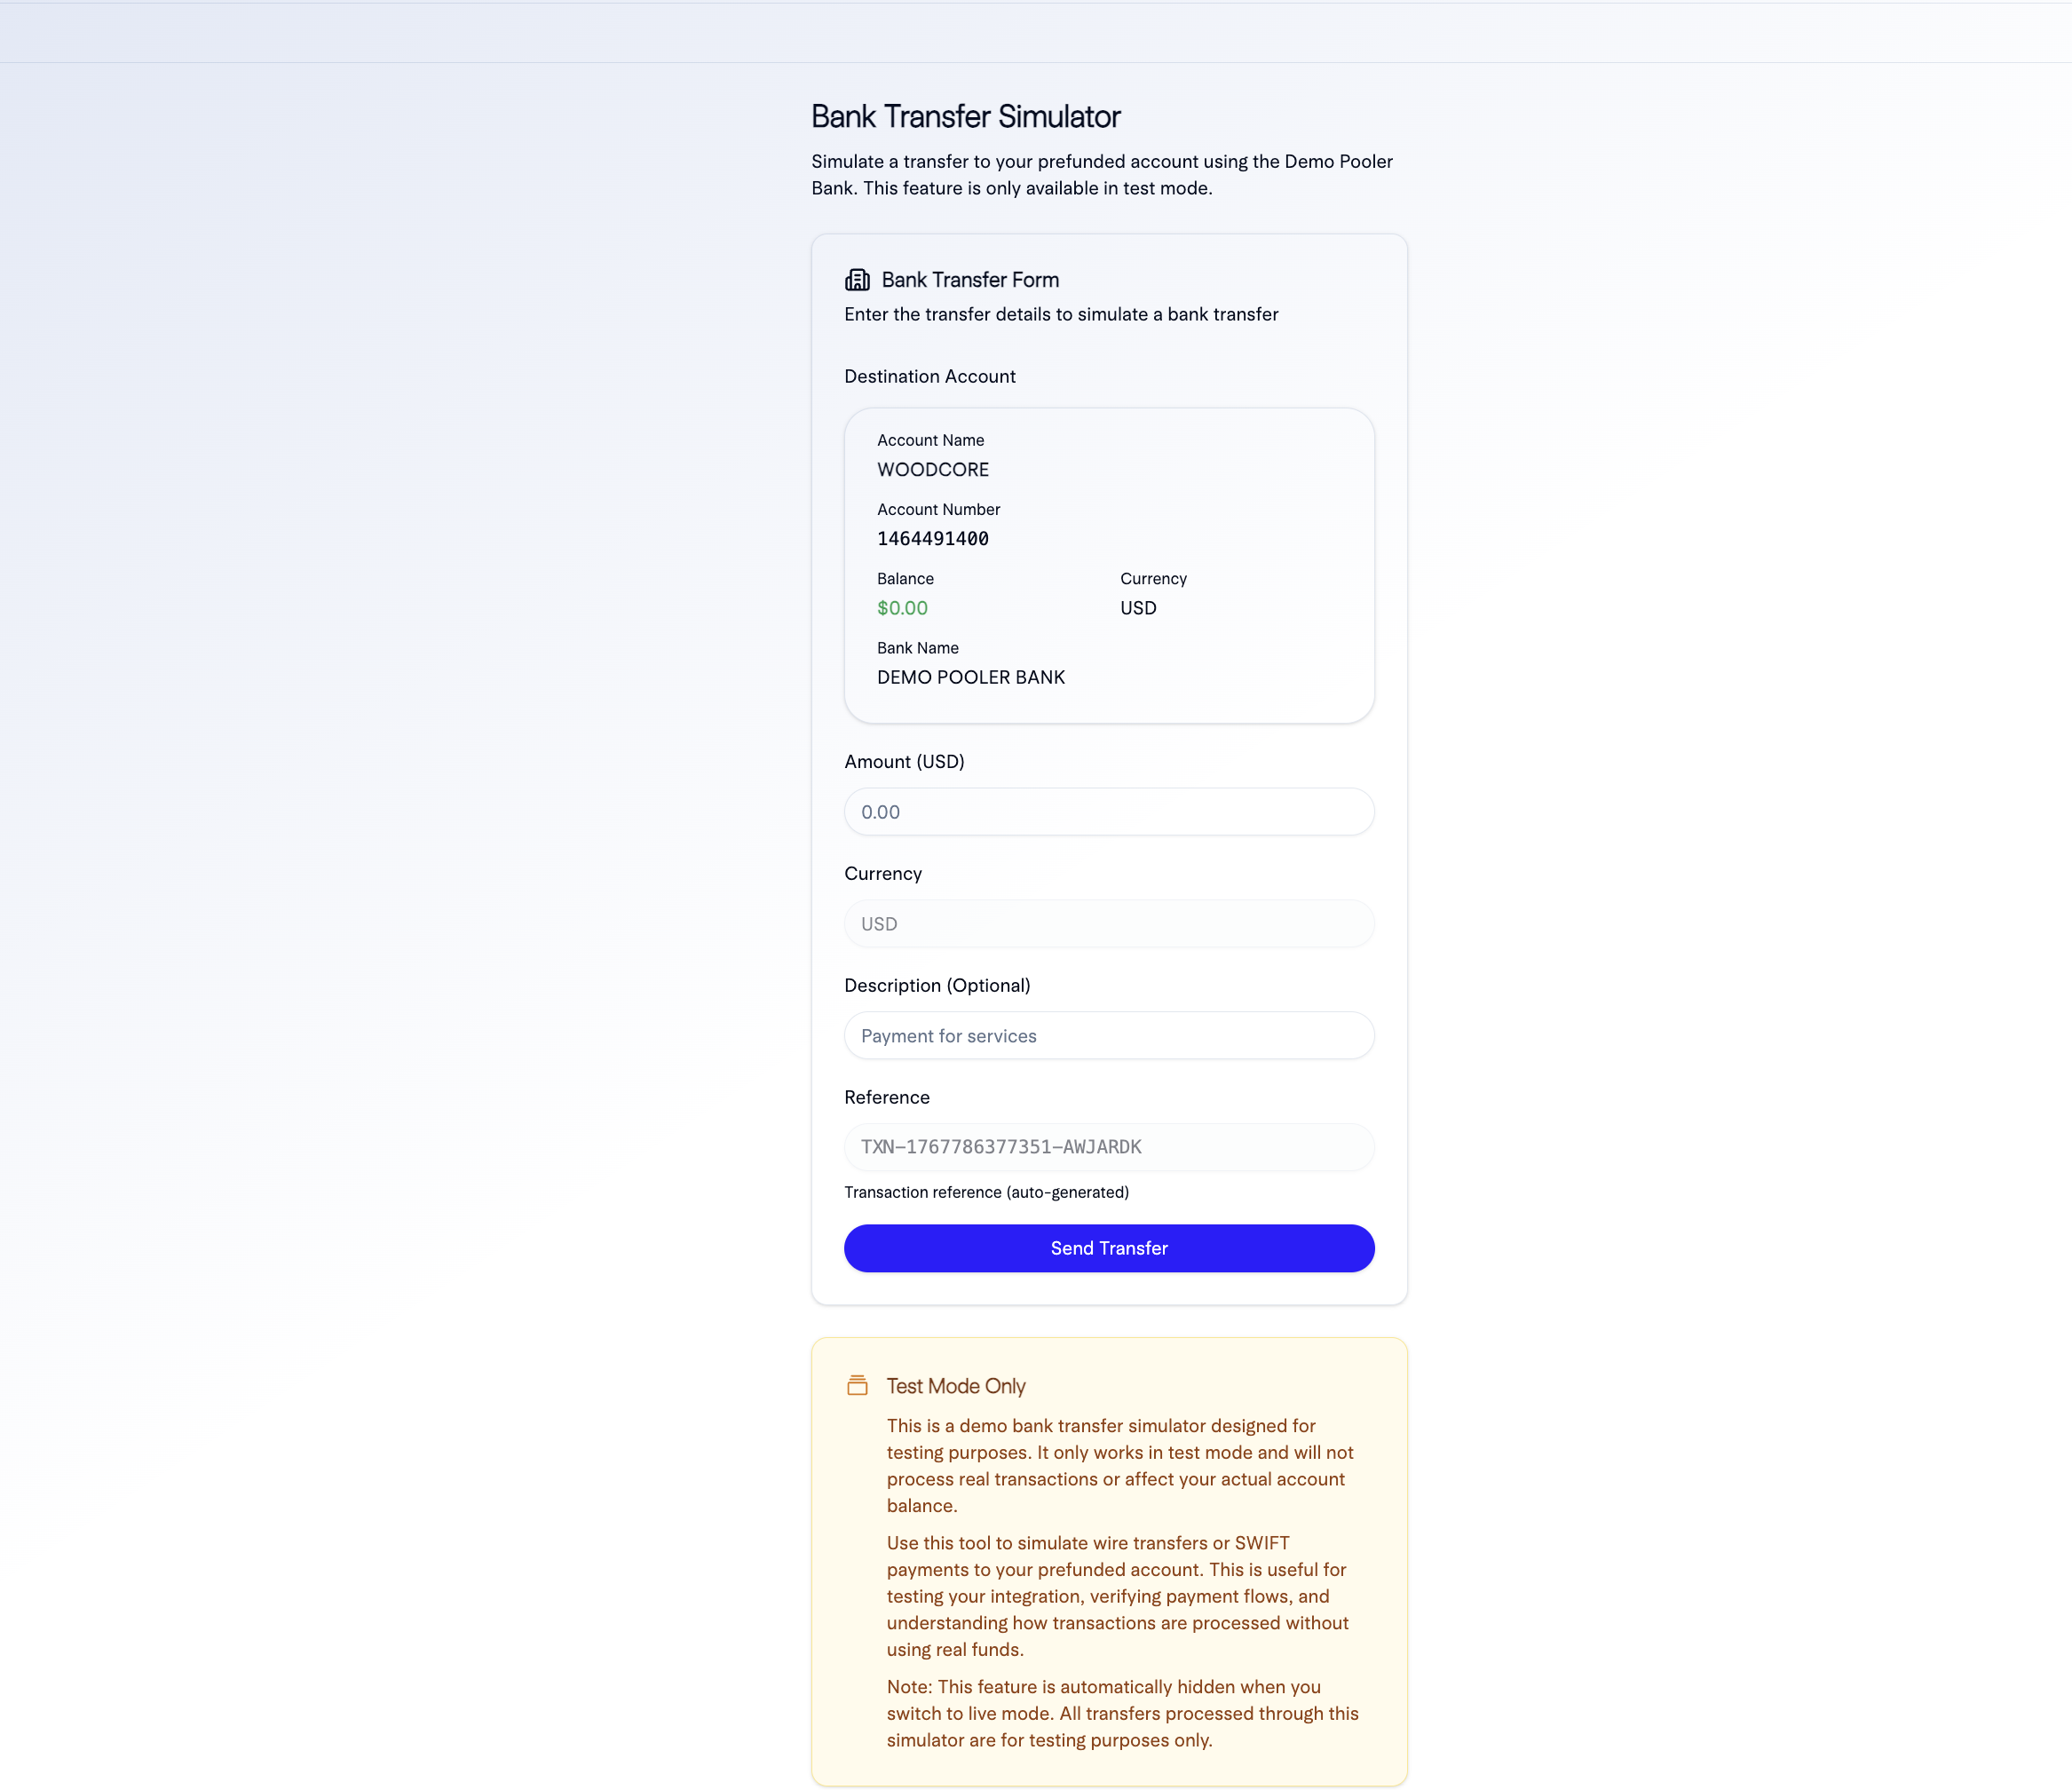
Step 3: Test with Demo Banking Simulator
Pooler provides a demo banking simulator that allows you to test payment flows without using real money or bank accounts.What is the Demo Banking Simulator?
The demo banking simulator is a testing environment that mimics real banking behavior, allowing you to:- Test payment initiation and completion
- Simulate different payment scenarios (success, failure, pending)
- Test webhook notifications
- Verify your integration without financial risk
Accessing the Demo Banking Simulator
- From your dashboard, navigate to Developers → Testing Tools
- Click on Demo Banking Simulator or Test Environment
- You’ll be redirected to the simulator interface
Next Steps
Congratulations! You’ve completed the quickstart guide. Here’s what to do next:Explore API Reference
Review our comprehensive API documentation to understand all available endpoints and features.
Read Payment Flows Guide
Learn about different payment flows and how to implement them in your application.
You’re now ready to start building with Pooler! Begin by making your first test payment using the demo banking simulator.